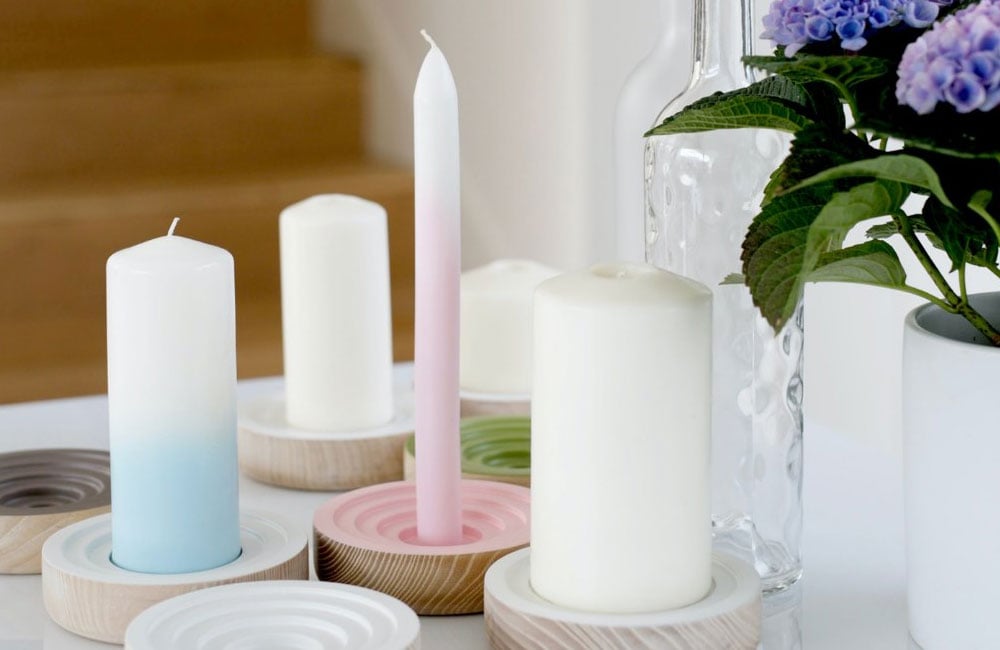
Before you get started making a pillar candle, you need to ensure that your work space is clean and clear, and you have the following items to hand:
Ingredients
- A heat source to melt the wax
- Double boiler or pan inside a pan to melt the wax in
- Your mould for making your candle
- Something to stir the wax with
- Thermometer
- Pouring Jug
- Clothes peg or hair slide to hold wick in place
Method
Taking your time is key to making the perfect candle, so remember don’t rush,
Step 1 – Work out how much wax you need for your container you can do this using our percentages and measurements guide (you can also use this for working out your desired fragrance and dye volumes). Pour your wax into your double boiler or pan, melt the wax at a controlled temperature no higher than 65°C. Gently stir until all wax has melted.
Step 2 – Whilst the wax is melting you can use this time to prepare your container for the pour. You will want to ensure they are free of any dirt or particles and are dry. Then you need to set the wick in place, this varies depending on the type of mould that you have. Why not check out our Wicking your Container/Mould Guide. You may need to support one end of the wick externally from the container you can do this with either a peg, hair clip or chopstick, anything to hand can work.
Step 3 – Now all the wax has melted and has a temperature of 65°C, you can add the dye to the wax. This needs to be stirred continuously and gently to ensure the colour dissolves evenly. We say to stir this gently, to reduce the risk of air bubbles within the wax as this will affect how your candle burns.
Step 4 – Next it’s time to add your fragrance to the wax however before you do this, the temperature of the wax must be below the flash point of your fragrance, this is the point at which the fragrance evaporates from the wax. You can find your fragrances flash points here. Once the wax is at the right temperature, pour in your fragrance and stir evenly.
Step 5 – Providing the temperature is 60°C or lower, you can now pour your wax slowly into the mould, pouring slowly is essential to reduce the risk of air bubbles/pockets. You will want to fill the container all the way to the tip, left over wax should be poured back into the heating container as you may need this for a repour. Leave this to set on a flat surface for around 20 – 30 minutes, if you need to do a repour do this at this stage.
Step 6 – Leave the candle to cool for around 12-24 hours before removing the candle from the mould. The candle should have shrunk as its cooled, enough so that you can release the candle from the mould with ease. If not using a hairdryer gently heat the edges until the candle is freed. As normal trim your wicks, now sit back relax and enjoy your pillar candle.


Leave A Comment