


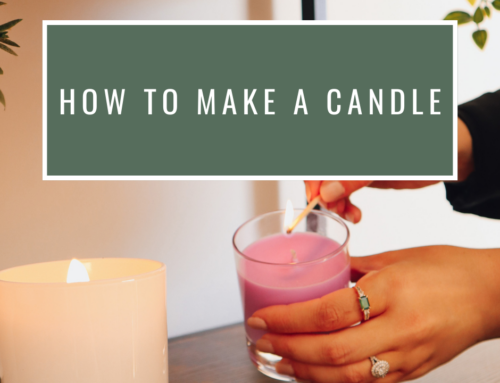
Welcome to our beginners guide to candle making.
Preparation
You must first decide what kind of candle wax, dyes and oils you want to use to make your candle. Remember that part of the fun of this is experimenting and trying different combinations. You may choose to start with smaller moulds or containers when experimenting. You will see from our Candle Wax listing, there are several different types of wax to choose from.
As a rough guide:
Fill container/mould with water, measure the amount of water and round up to the nearest 10ml. Deduct 20% from that figure and that is the number of grams you need – so:
For example:
495ml of water in the container/mould – round up to 500ml
Deduct 20% from that figure (100) giving you 400 – so you need 400g of wax.
The reason for this is 1ml of water weighs exactly 1 gram, so they are equal, but wax is slightly less dense than water, so we deduct 20% to get the amount of wax.
You will want to prepare the area you will be using to make your candles to ensure that any spills are easily removed. Wax can be a nuisance to remove – have warm water and a rag available to wipe away any wax that spills – just be careful to avoid contact with skin and especially your eyes. Paper towels to wipe away spills are also very handy to have at hand.
In the unlikely event you were to get wax in your eyes, do not try to remove it yourself – seek medical assistance. Although it can be uncomfortable or even slightly painful getting wax on your skin, it will generally peel away or can be washed off with warm water. Just make sure that the skin does not stay red or in any other way discoloured as this could suggest an allergy.
Try to avoid always, allowing wax to be discarded down your sink as this can obviously lead to blockages. Similarly, do not try to wash wax soaked containers or moulds in your dish washer.
Fill a large pot (or saucepan) about halfway with hot water. Make sure there’s enough room for the smaller container holding the wax. Best to use a see-through, heat-resistant glass container (Pyrex for example), preferably with a scale showing measurements of the content.
Ensure you have your wax thermometer handy along with your candle dyes and fragrance oil.
Stage 1 – Preparing the Wax
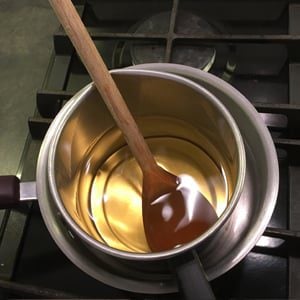
Place the solid wax into your heat-resistant container which is then placed carefully into your pot containing hot water. Make sure the hot water does not go into the container. The water should now be brought to the boil and the wax will start to melt. You can stir the wax with a disposable wooden spatula, but this is not completely necessary. It does not speed up the process of melting the wax that much. However, having a spatula will be useful when adding wax dye or wax fragrance.
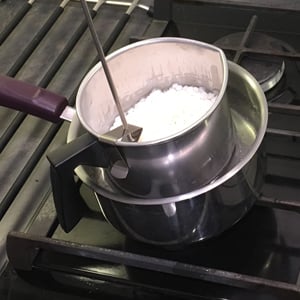
Stage 2 – Melting the Wax
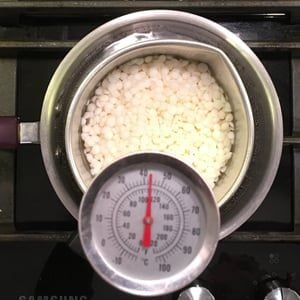
Use a wax thermometer to monitor the temperature of the wax. You can use a standard cooking thermometer, but remember it must be cleaned effectively before being reused with food.
Paraffin wax should be melted until it reaches a temperature of approximately 50° to 60°C (122° to 140°F).
Soy wax should be melted until it reaches a temperature of approximately 76° to 82°C (169° to 180°F).
Vegetable wax should be melted until it reaches a temperature of approximately 47° to 49°C (116.6° to 120.2°F).
Gel Wax should be melted until it reaches a temperature of approximately 94° to 104°C (201° to 219°F).
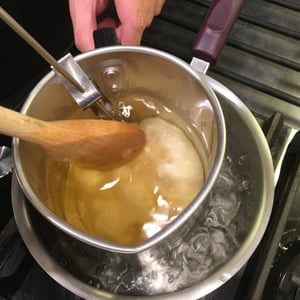
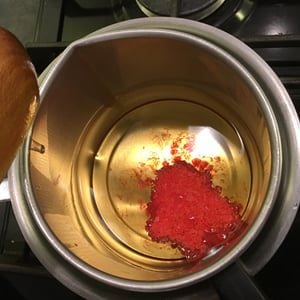
As the wax has almost all melted through, add your dye and/or wax essential or natural oils. Always add the dye first and allow this to meld fully with the wax before adding the fragrance oil. Use a disposable wooded spatula to mix in the dye and/or oils into the melting candle wax. Do so for at least two minutes. The quantity of either of these additives used is basically up to you, but manufacturers will make recommendations found within either the accompanying leaflet or on the label on the bottle or packet.
Be careful not to make the scent overly powerful at first or it can be quite overwhelming when permeating into the room. As you place the dye into the container, you will immediately get an idea of the colour – add a little at a time until you get the colour you want. Don’t forget, you can mix different dyes and fragrances together with the candle wax if you are feeling particularly adventurous. Don’t worry about getting it wrong – it is all part of the fun of experimenting and creating your own unique candle.

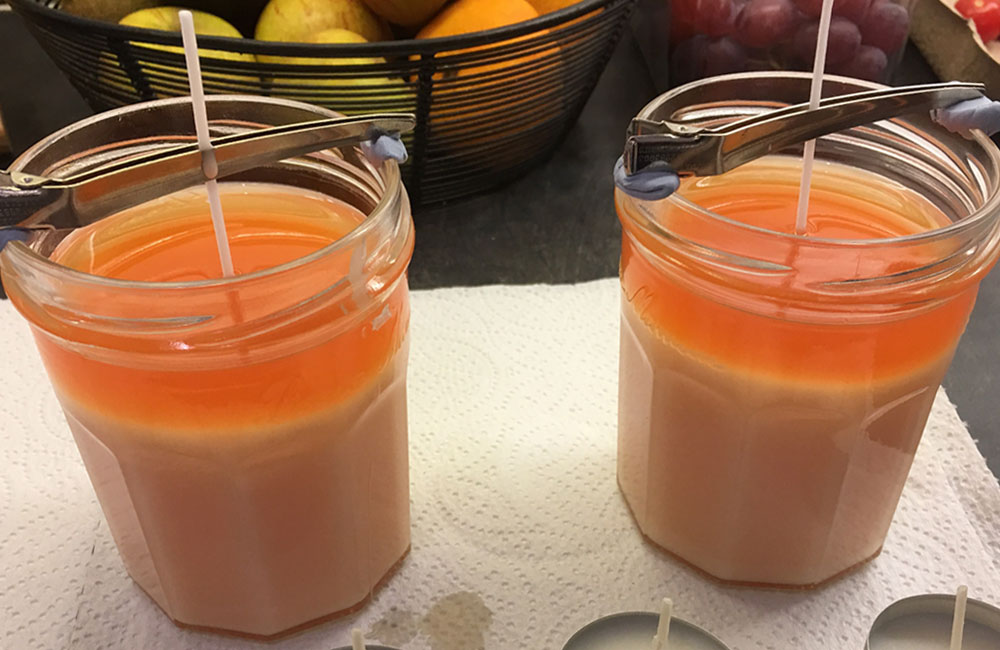
Stage 3 – Adding the Wick
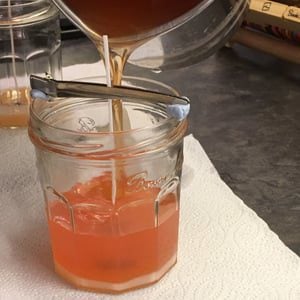
Fix the wick to the metal tab. The metal tab can then either be placed into the container/mould and held there with a spatula as the melted wax is poured or alternatively can be pushed down to the base of the container/mould with the spatula after the wax has been added. Make sure the metal tab/wick is located centrally within the candle. As an alternative to these methods, if you have some Blu Tac handy a little tip from our Company Director, is to place a very small amount under the metal tab and stick it to the bottom of the container/mould.
Place a pencil, wooden spatula or something similar to a metal skewer over the rim of the container/mould and tie the wick to it ensuring a) the wick remains vertical and taut and b) the metal tab remains at the base of the mould/container. Some people prefer to do this before putting the wick into the wax – just be careful the wick remains taught and goes all the way down to the bottom.
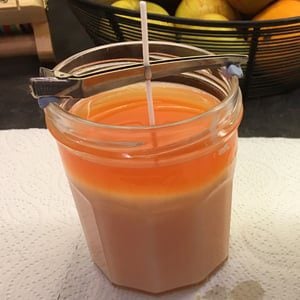
Stage 4 – Cooling and Solidifying
Soy wax candles generally take the least amount of time – around 5 hours to cool and solidify. Vegetable wax candles slightly longer – around 7 hours, while Paraffin wax candles take the longest time – best to leave for about 24 hours. The more the candle has solidified the easier it will be to remove it from the mould/container.
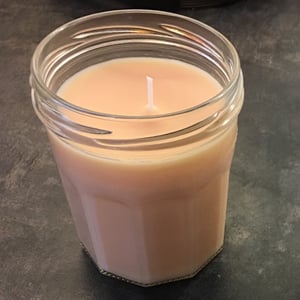
Tap around the outside of the mould/container to remove your new candle and cut off any wick excess; you only need about 1cm at the top of the candle. Using longer wicks will create a larger flame initially, but most of the time, any excess will simply burn away.
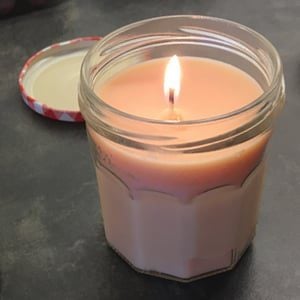
Stage 5 – Enjoying
Turn the lights down, sit back, put your favourite music on and enjoy the tranquil aesthetic and aroma of your creation. Put any modesty aside and make sure everyone around you appreciates your talent.
Stage 6 – Cleaning Up
A little tip to cleaning any containers used to melt the wax – wipe away most of the wax while it is still slightly warm (not hot) and in a slight semi-molten state using a paper towel (try not to get any wax on your hands), then apply vegetable or virgin oil to a paper towel and wipe the inside of the container to remove the remainder of the wax. You can also get rid of the wax by putting boiling water into the container – this will melt the wax which will float to the surface of the water. The wax can then be skimmed off with a spoon and disposed of appropriately.
For any advice or to talk through your project with one of our advisors, please do not hesitate to contact us at The Cosy Owl on 01376 560 348.


I have done as instructed but the candles don’t seem to burn all the way to the edges. The wick burns away and leaves a thick unmelted edge.
Are you using the right wick for the diameter of candle that you are making? This is commonly the hardest part of making a successful candle. You can email the team directly with you candle dimensions and details of the wax you are using, with this information we can then recommend a couple of wicks which should give you a full melt pool.