Preparation
Prepare the area you will be using to make your soaps to ensure that any spills can be easily removed.
Be careful to avoid contact with skin and especially your eyes. In the unlikely event you were to get soap in your eyes, do not try to remove it yourself – seek medical assistance. Although it can be uncomfortable or even slightly painful getting soap on your skin, it will generally peel away or can be washed off with warm water. Just make sure that the skin does not stay red or in any other way discoloured as this could suggest an allergy.
Take caution when using mica powder. It can temporarily stain the skin if exposed in large quantities. If you get mica powder on the skin, wash thoroughly with soap and water.
Try to always avoid allowing wax to be discarded down your sink as this can lead to blockages. Similarly, do not try to wash wax soaked containers or moulds in your dishwasher.
Stage 1 – Removing your soap from the container
Open your container of soap base. Run a knife along the edges, and give the container a gentle pull to loosen the soap. Then flip the container over and give it a light tap and your soap will release.
Stage 2 – Melting your soap base
Cut your soap down into small pieces, (we recommend around 1 inch x 2 inch) as this helps to melt the soap base.
Take 1/2 of your soap base, add it to your heat resistant container and microwave for around 4 minutes (or until completely liquid). Once your soap is fully melted, add the remaining hard soap base and microwave again for around 3 minutes (or until completely liquid)
Stage 3 – Adding Your Essential Oil and Mica Powder
You can now add your essential oil to your liquid soap. Add between 30 and 40 drops of your essential oil and mix gently. Continue mixing until your oil has been evenly distributed through your soap. If you would like to add more essential oil, now is the time to do it!
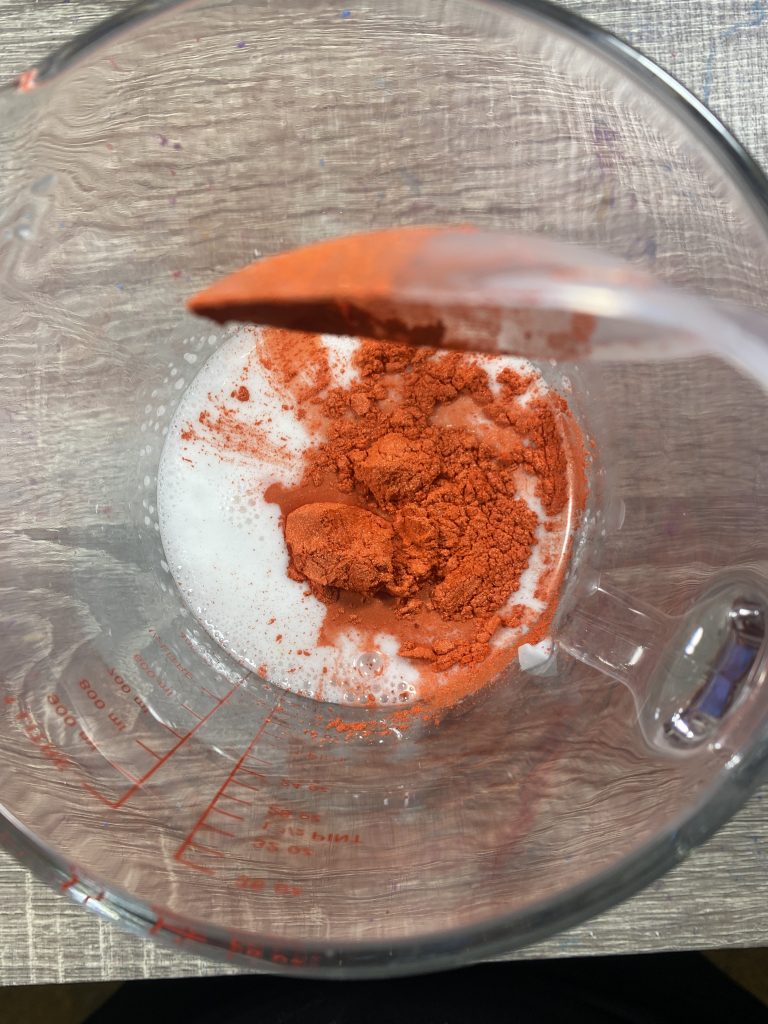
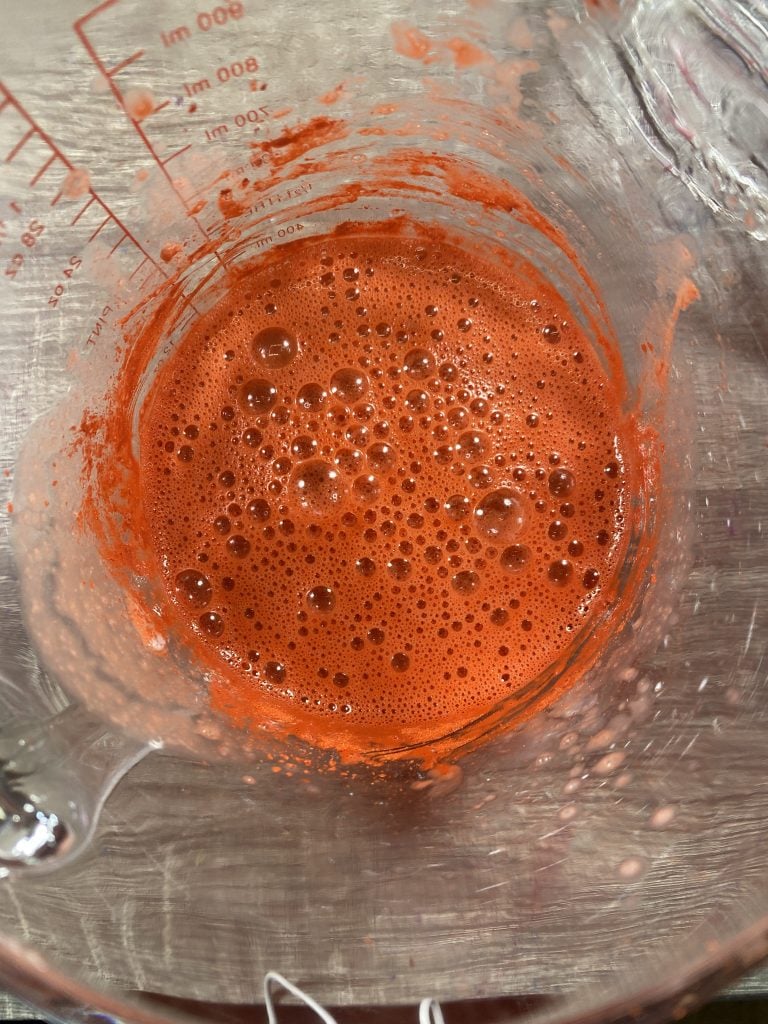
You can now add the best part – the mica powder! When adding mica powder, add a little at a time until you reach your desired amount of colour. Give your soap a thorough mix to ensure the mica powder has been distributed evenly through the soap.
Stage 4 – Pouring the Soap Base
We like to add a little mica powder into the moulds with a small paintbrush to add an extra shimmer to the soaps.
Now it’s time to pour your soap into the moulds. Carefully pour an even amount of soap into each mould. Leave at room temperature until completely hardened. If you had some soap that didn’t fit in the first batch, re-melt it and make a whole new batch!
Enjoying your Soaps
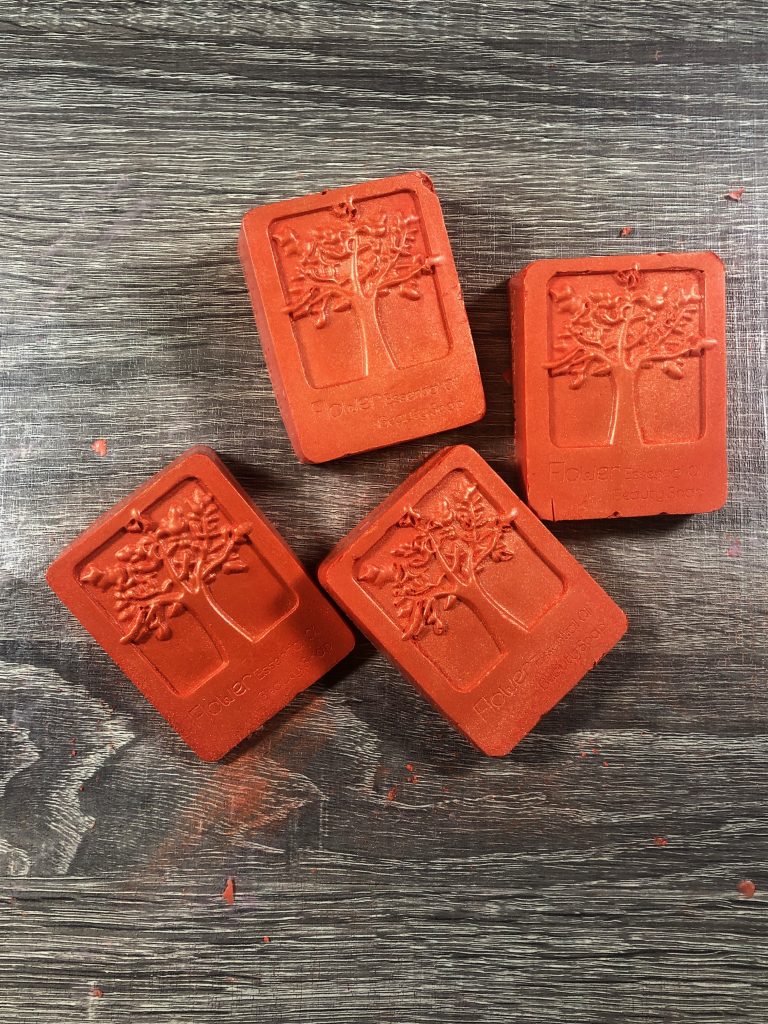
Once all your soap has fully hardened, why not try using your soap? You could wash your hands, use it in the shower, or even the bath. The mica powder works great in hot water!
For any advice or to talk through your project with one of our advisors, please do not hesitate to contact us at Cosy Owl on 01376 560 348.







Thank you for this guide