


In this guide, courtesy of Victoria of Cosy and Country, we’ll show how to make candles using soy wax, making full use of its unique properties. Whether you are a beginner in this craft or an expert candle maker, this guide will serve as a useful run-through, plus tips and tricks to avoid some of the most common problems.
But first, a little background. Soy wax is by far the most popular wax to use for home crafters, this is in part due to its reputation as the ‘cleaner’ and more sustainable option as opposed to paraffin wax (which is a bi-product oil in the petrochemical industry).
In terms of its properties, soy wax generally has a lower melting temperature than paraffin wax and is usually softer, making it a great option as a container wax. Another benefit is that soy candles burn very well, often creating a larger melt pool, avoiding tunneling issues and allowing you to use all the wax in a long slow burn.
Further reading: If you want to learn more about Soy Wax and Paraffin Wax in relation to the sustainability, check out this article: The Truth About Paraffin Wax
Ingredients
- KeraSoy 4130 Container Wax
- 30cl Karen Round (Matt White)
- 100ml Fragrance Oil – we chose Red Roses
- 3g of Bekro 227 Cream Candle Dye
- Glue Dots
- Wick Centering Tools
Step 1 – Measure Your Wax
On your weighing scales, pour the full bag of 800g soy wax into the melting pot. Victoria is using 3 containers holding 30cl each, which are capable of holding the full amount, so no wax will go to waste.

Step 2 – Melt the Wax
Pop the wax onto a medium heat and stir it from time to time until it has completely melted.
Fun Fact #1: Soy wax on its own doesn’t make an optimal candle wax, so in order for it to burn well it is refined with a number of additives.

Step 3 – Wash Your Containers
Whilst your wax is melting, we suggest washing your containers with warm water. This way you’ll not only ensure you get rid of dust or any other contaminants, but you’ll warm the containers up enough to avoid frosting or adhesion problems that can be caused by soy wax.

Step 4 – Prepare Your Containers
After making sure the containers are nice and dry, stick one side of the glue dot onto the base of the wick, peel off the other side and fix the wick to the bottom of the container. Ensure that your wick is straight and centered by applying your wick centering tool.

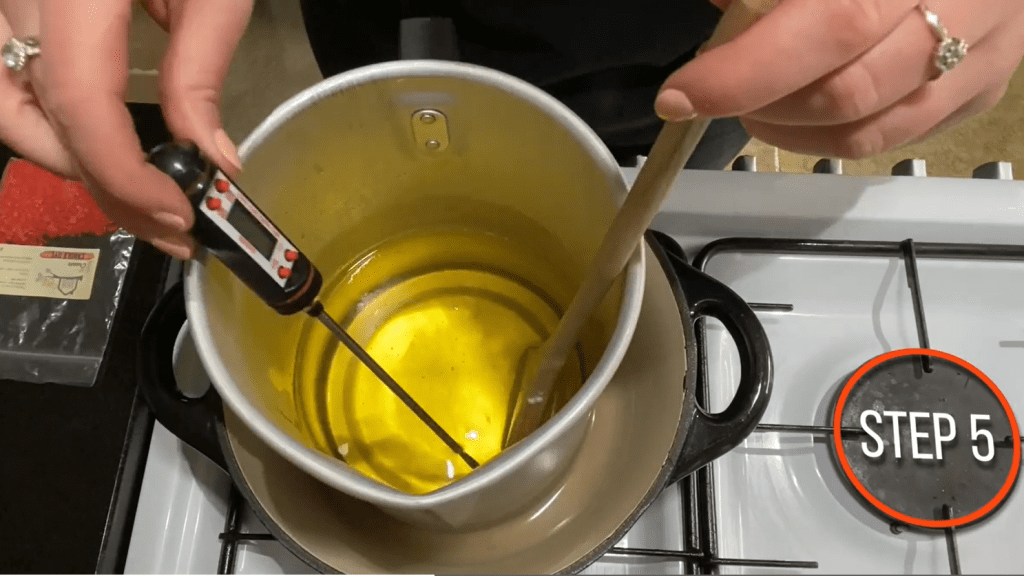
Step 5 – Check the Wax Temperature
Back to your wax, which should have fully melted by now, check that the temperature is as close as possible to the 60°C mark. If too warm, simply leave for a couple of minutes to cool down until it reaches the desired temperature.
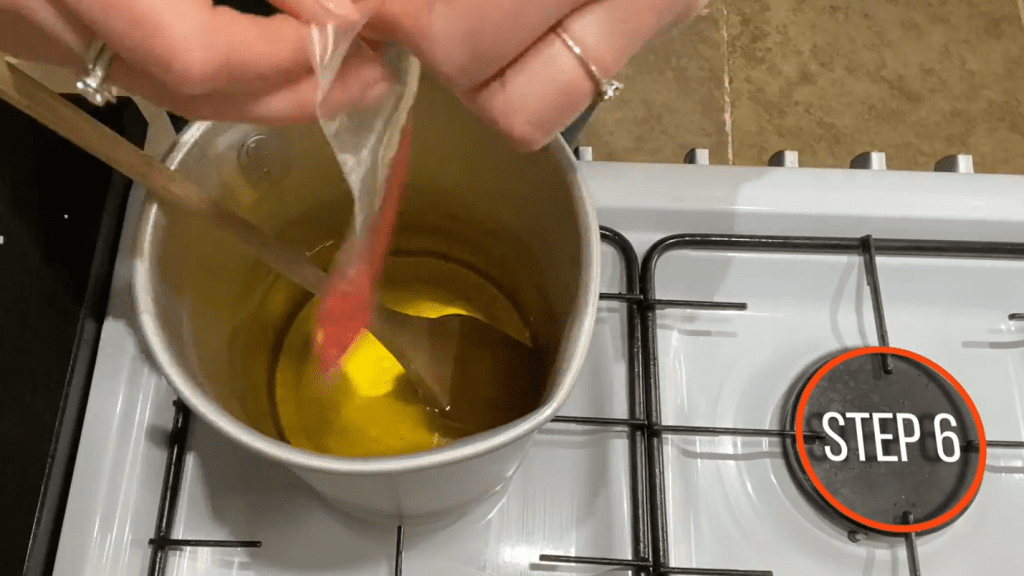
Step 6 – Add Your Dye to the Wax
Pop around 2/3g of dye into your wax – we are using Cream. Depending on the dye you are using and how intense of a colour you want to obtain, the amount could be slightly more or less.
Give it a gentle stir and let the dye melt all the way through the wax to obtain a nice and even colouring.
Step 7 – Add Your Fragrance Oil
Pop your melting pot onto your weighing scales. Victoria has 800g of wax in her pot, so she’s measuring up 70ml of fragrance oil which makes for less than 10%. Bear in mind that soy wax can hold up to 12% of fragrance oil. Stir thoroughly, then check the temperature once more before moving onto the next step.
Fun Fact #2. Soy wax holds coloured dye and fragrance oil very well, however, it may require slightly more fragrance loading than paraffin, so keep this in mind in case you prefer a stronger scent.

Step 8 – Pour the Wax
With your wax at around 55°C, start with the first pour. It’s best to pour only part the way up, this is because, depending on the container, you may be required to add a top-up just in case you need to even out any sinkholes.
Leave the wax to cool for 30 minutes then check.

Step 9 – Pour the Remaining Wax and let it set
As you can see, our candles have indeed formed a few sinkholes. In order to clear up this imperfection, simply reheat the rest of your wax. Then you can pour at a slightly higher temperature this time, so that you’ll obtain a smooth coverage on top.
We suggest leaving the candles at room temperature, neither too warm nor too cold. Also try to avoid any sudden temperature changes, this way you’ll make sure there won’t be any frosting during cooling. Leave them to set for 24 hours.
TIP: These candles need to cool quite slowly, so don’t be impatient or you could cause frosting or adhesion problems.

Step 10 – Trim the Wicks
After 24 hours, the wax has now cooled and the top is smooth and even. It is now time to trim the wicks. Using your trimmer, cut the wick to around 5mm.

Step 11 – Light and Enjoy
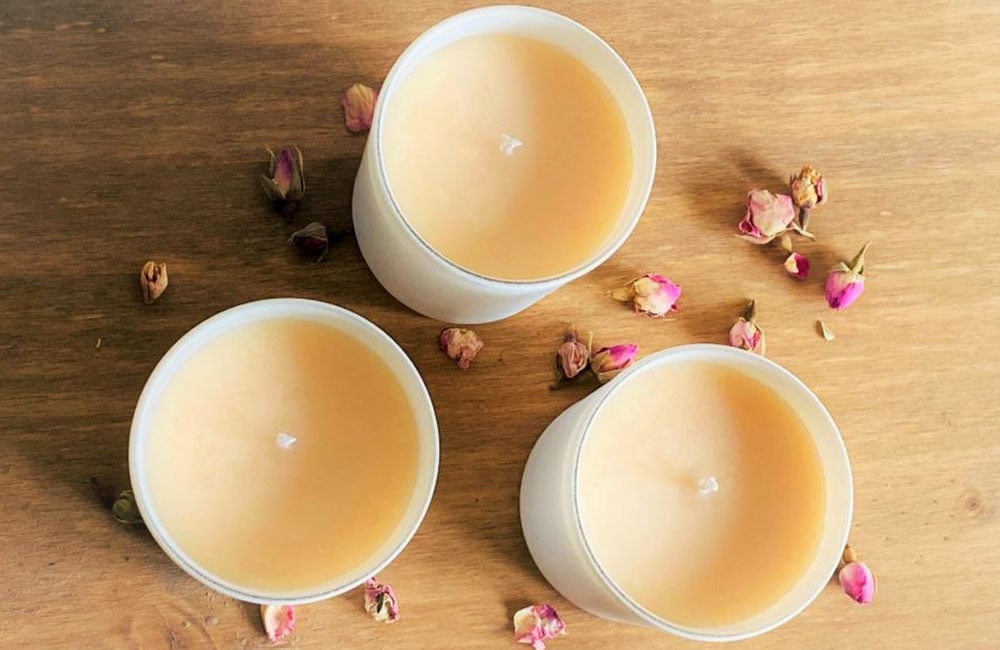
Well done! Your gorgeous soy wax candles are now ready to be enjoyed.


Leave A Comment