


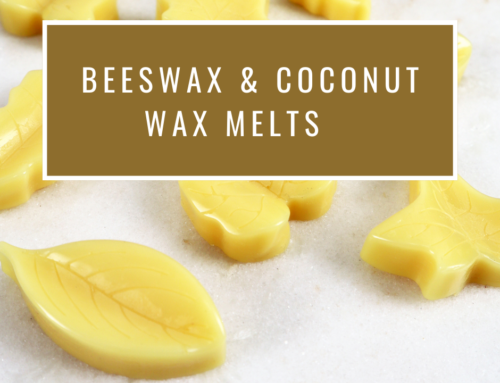
Wax melts are perfect for creating a cosy ambience, but mostly these crafts are very easy to customise with your favourite shapes, fragrances, colour combinations and different effects. So if you haven’t created wax melts before or you are simply in need of a refresher, check out our guide on how to make wax melts at home.
In today’s step-by-step guide by Victoria of Cosy & Country, you will be able to give your wax melts an ombre, candy-cane effect and add your very own touch of colour with some layered wax melts.
See Also: If it’s sparkles that you’re after, we’ll show you how to add sparkling glitter to your wax melts for the perfect party-themed craft.
Ingredients
- KeraSoy 4120 or KeraWax 4600
- Wax Melt Tartlet Clamshells
- 50ml Fragrance Oil – we used Strawberry
- 3g of Bekro 35/4141 Light Rose Pink Candle Dye
- 3g of Bekro 30/6077 Red Candle Dye
Step 1 – Measure Your Wax
On a weighing scale, measure out 200g of wax into 3 pots – this will make up your 3 coloured layers which will be spread across 7 clamshell moulds.
This might leave you with some extra wax, which can be used later on for re-pouring. It’s important to recycle and/or use all your wax to avoid waste.

Step 2 – Melt the Wax
Pop your first pot of wax onto a medium heat and let it melt through. Keep an eye on the melting process and give the wax a good stir from time to time.
Once fully melted, with your thermometer, check that the wax is around the ideal temperature of 60°C. If it’s too hot, just pop it to one side and let it cool down for a few minutes.

Step 3 – Add Your Fragrance Oil
For this layer, we have chosen to not add any dye to make it a white colour – if you are wanting to add dye to your first layer, now would be the time to do so.
Making sure the wax is at around 60°C, it’s now time to add your fragrance oil – we have chosen Strawberry. Pour around 15ml into your 200g of wax and give it a good stir around (this will give you roughly an 8% ratio – you can use up to 12%.)

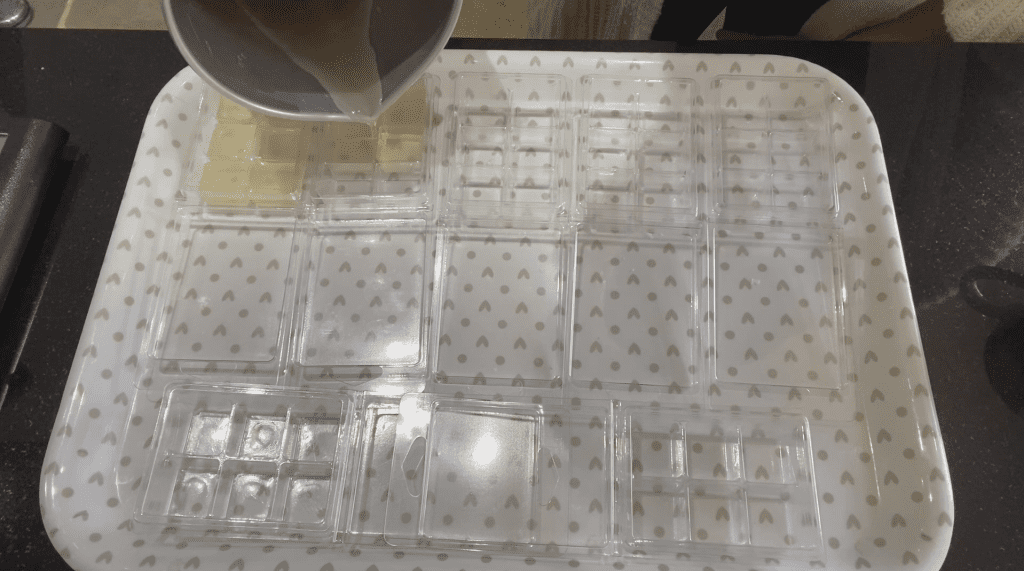
Step 4 – Pour Your First Layer
First, you should make sure your wax is around 55°C, this way the wax will set almost instantly and will not damage the mould.
These moulds hold roughly 70g of wax each, so you will want to pour 26g for each layer into each mould. Pour a third of the way up and be careful not to spill any. Then leave them for half an hour to set.
Step 5 – Melt Your Second Layer and add Your Dye
Whilst the first layer is setting in the moulds, you can now melt the second layer. Simply repeat the process as per Step 2.
Once your wax has fully melted and is at 60°C, you can now add your chosen dye – we have chosen to add 1g of Light Pink to create an ombre effect. Once added, stir thoroughly to make sure it has mixed evenly through the wax.

Step 6 – Add Your Fragrance and Pour the Second Layer
Keeping an eye on the temperature, you can now add 15ml of fragrance oil into the second layer and carefully stir.
Once the first layer has completely set, you can pour your second layer on top, aiming for another 26g into each mould. Then leave them to set for another 30 minutes before pouring your final layer.

Step 7 – Repeat the Process for the Third Layer
Repeat the whole process for your third and final layer – this will be our Red layer to complete the ombre effect.
Once you have poured your final layer, you can leave the wax melts to set for 24 hours.


Step 8 – Remove From the Mould and Enjoy!
After 24 hours, your wax shapes should be ready. You’ll see just how easy it is to pop these shapes out of the moulds. One block is enough for one burner.


Leave A Comment