


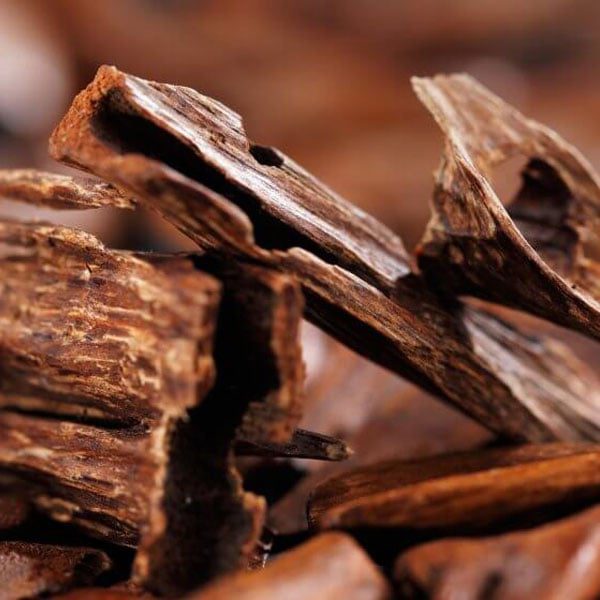
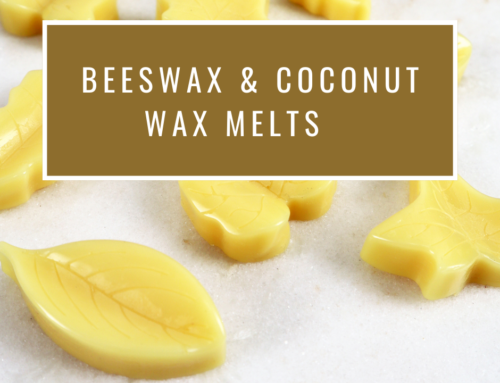
As the vibrant hues of Autumn start to paint the world with their warm and captivating shades, there’s an undeniable sense of cosiness in the air. The gentle rustling of leaves and the soothing aroma of vanilla and sandalwood intertwine to create an atmosphere of comfort and serenity. What better way to capture these Autumnal sensations than by crafting your own sandalwood vanilla leaf wax melt? In this guide, we’ll take you through the enchanting journey of making wax melts that not only radiate the beauty of red and yellow detailed leaves but also infuse your space with the alluring fragrance of sandalwood vanilla.
Sandalwood vanilla scent description:
Opening with an invigorating burst where the zesty notes of bergamot dance alongside the delicate whispers of freesia. Hints of lilac and clove intertwine with the timeless warmth of cedar wood, painting a picture of serene landscapes and cosy havens. A delicate trace of white patchouli, velvety sandalwood, and the rich essence of vanilla bean weaves together as a wonderful base note of this fragrance oil.


You will need:
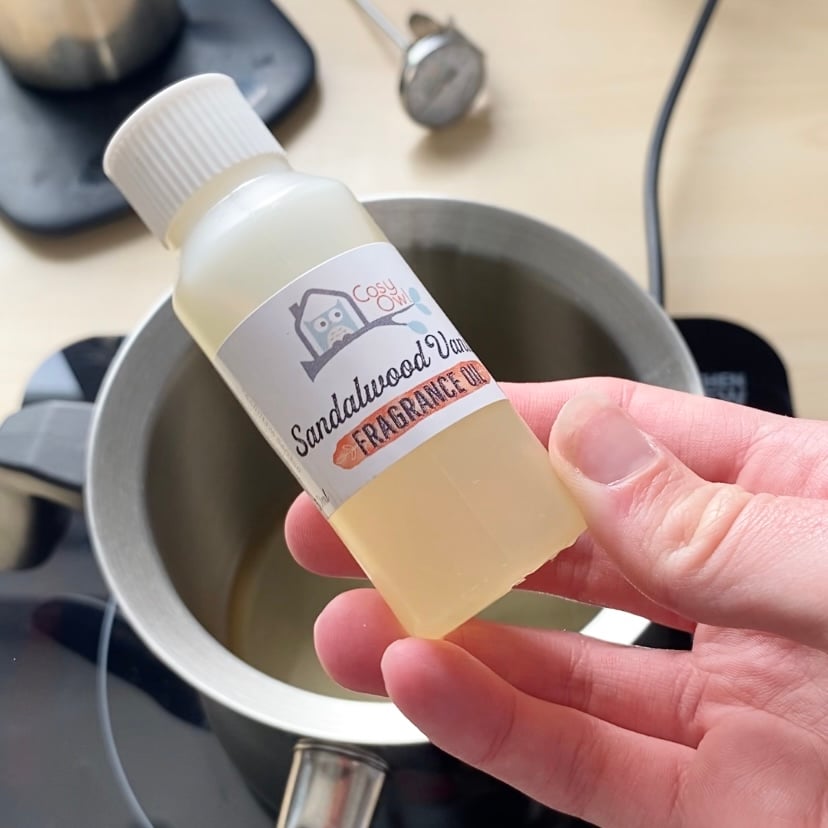
6g Sandalwood vanilla fragrance oil
Step 1
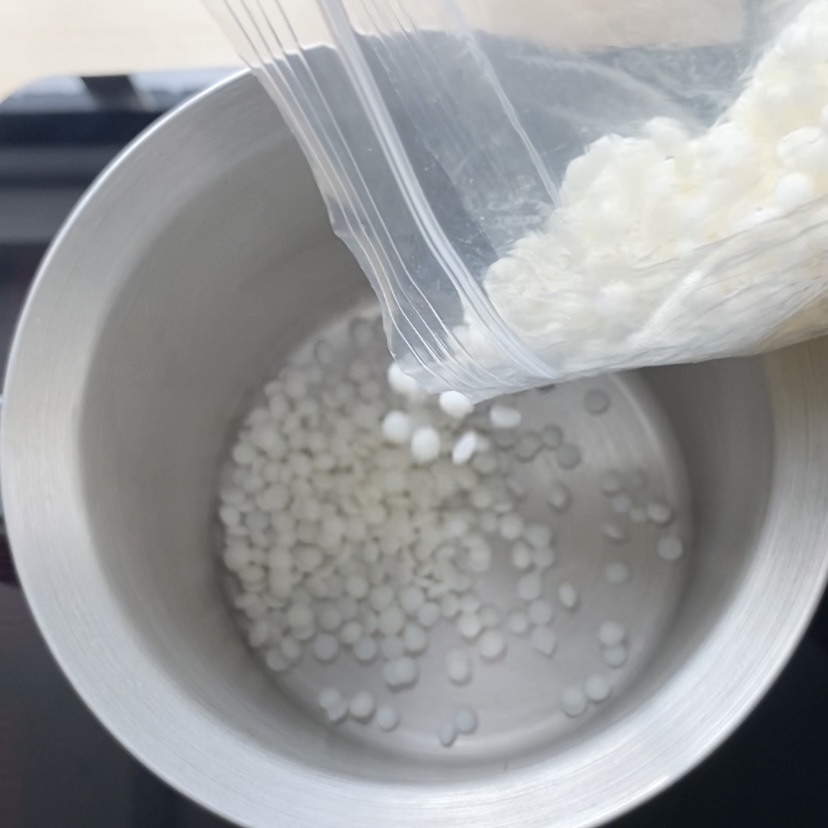
Melt all of the wax in a bain-marie or double boiler on a medium heat.
Step 2
Next, weigh out the fragrance oil in a jug. Once the wax has fully melted it will appear clear and smooth. Check the temperature of the wax is below your fragrance oil flash point. The flash point of a fragrance, is the temperature at which the oil will start to evaporate. To keep a good scent you will need to add the oil to the wax under its flash point number. In this case, Sandalwood Vanilla has a flashpoint of 93.33°C. Add the fragrance oil to the melted wax below 93.33°C and stir in gently until fully blended. Find each flash point temperature under each fragrance oil online.
Step 3
Prepare your mould by making sure they are clean and dry.
Step 4
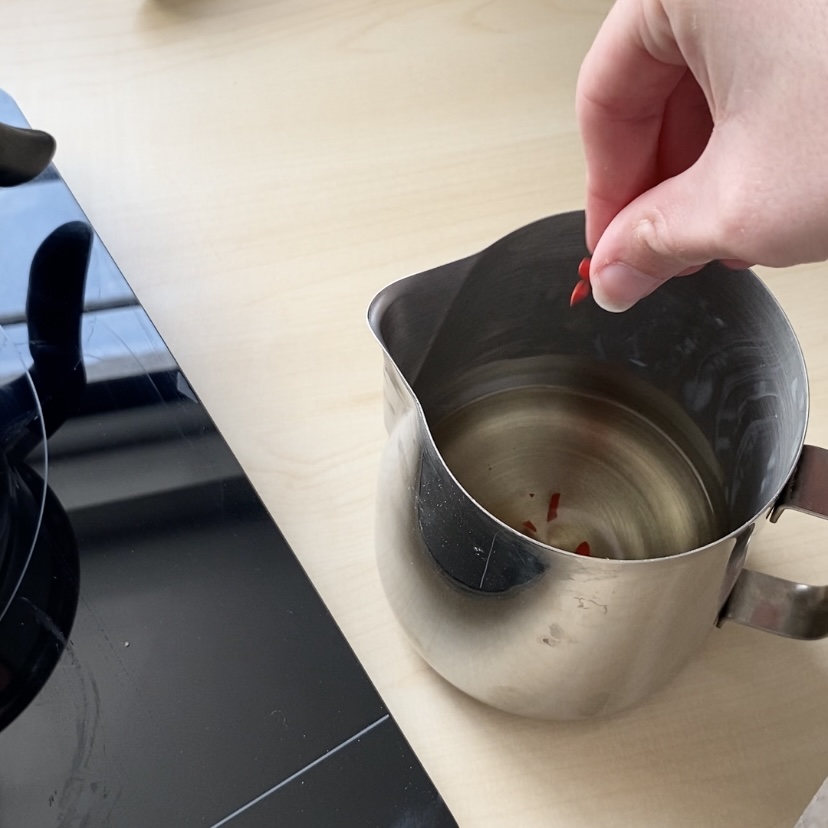
Once the wax has melted, check the temperature is around 65c and pour half of it into a jug and the rest into another. Add a pinch of red dye to one and yellow dye to the other. Mix this in until fully blended into the wax.
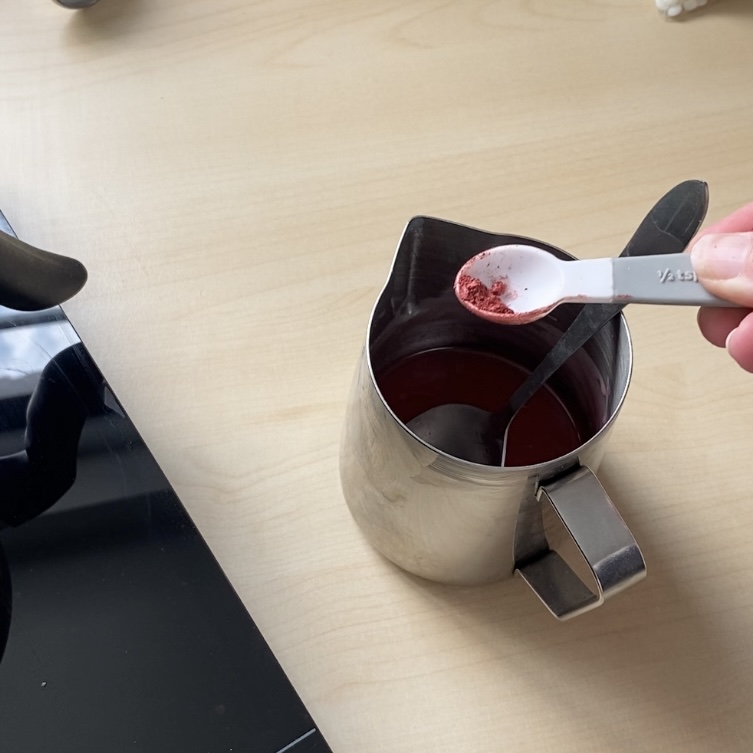
Step 5
Next, add a 1/4 teaspoon of red mica powder to the red dyed wax and yellow mica powder to the yellow dyed wax. Mix these both until the powder has blended into the melted wax.
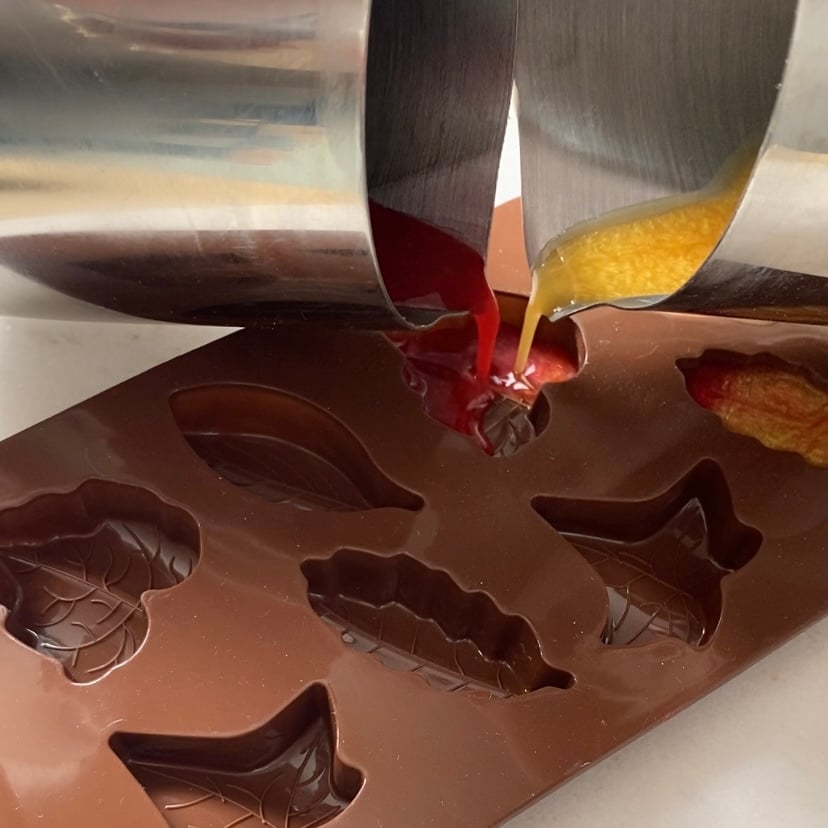
Step 6
We recommend laying newspaper or a protective surface cover under your wax melt mould. Now you can carefully pour with both jugs into each mould cavity. You will need to do this slowly to ensure you do not overspill.
Step 7
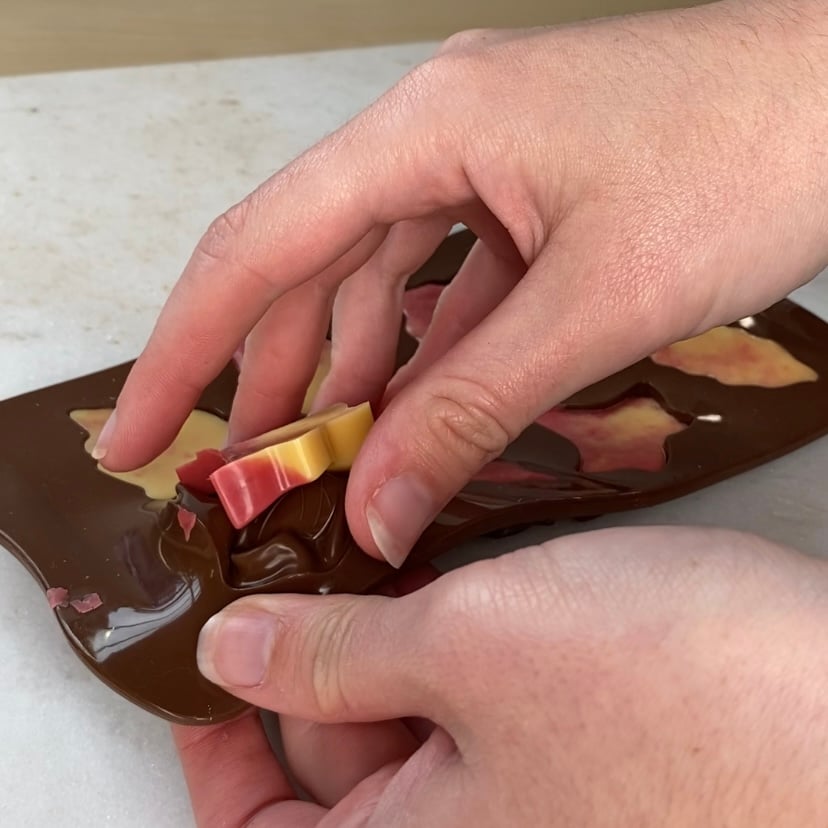
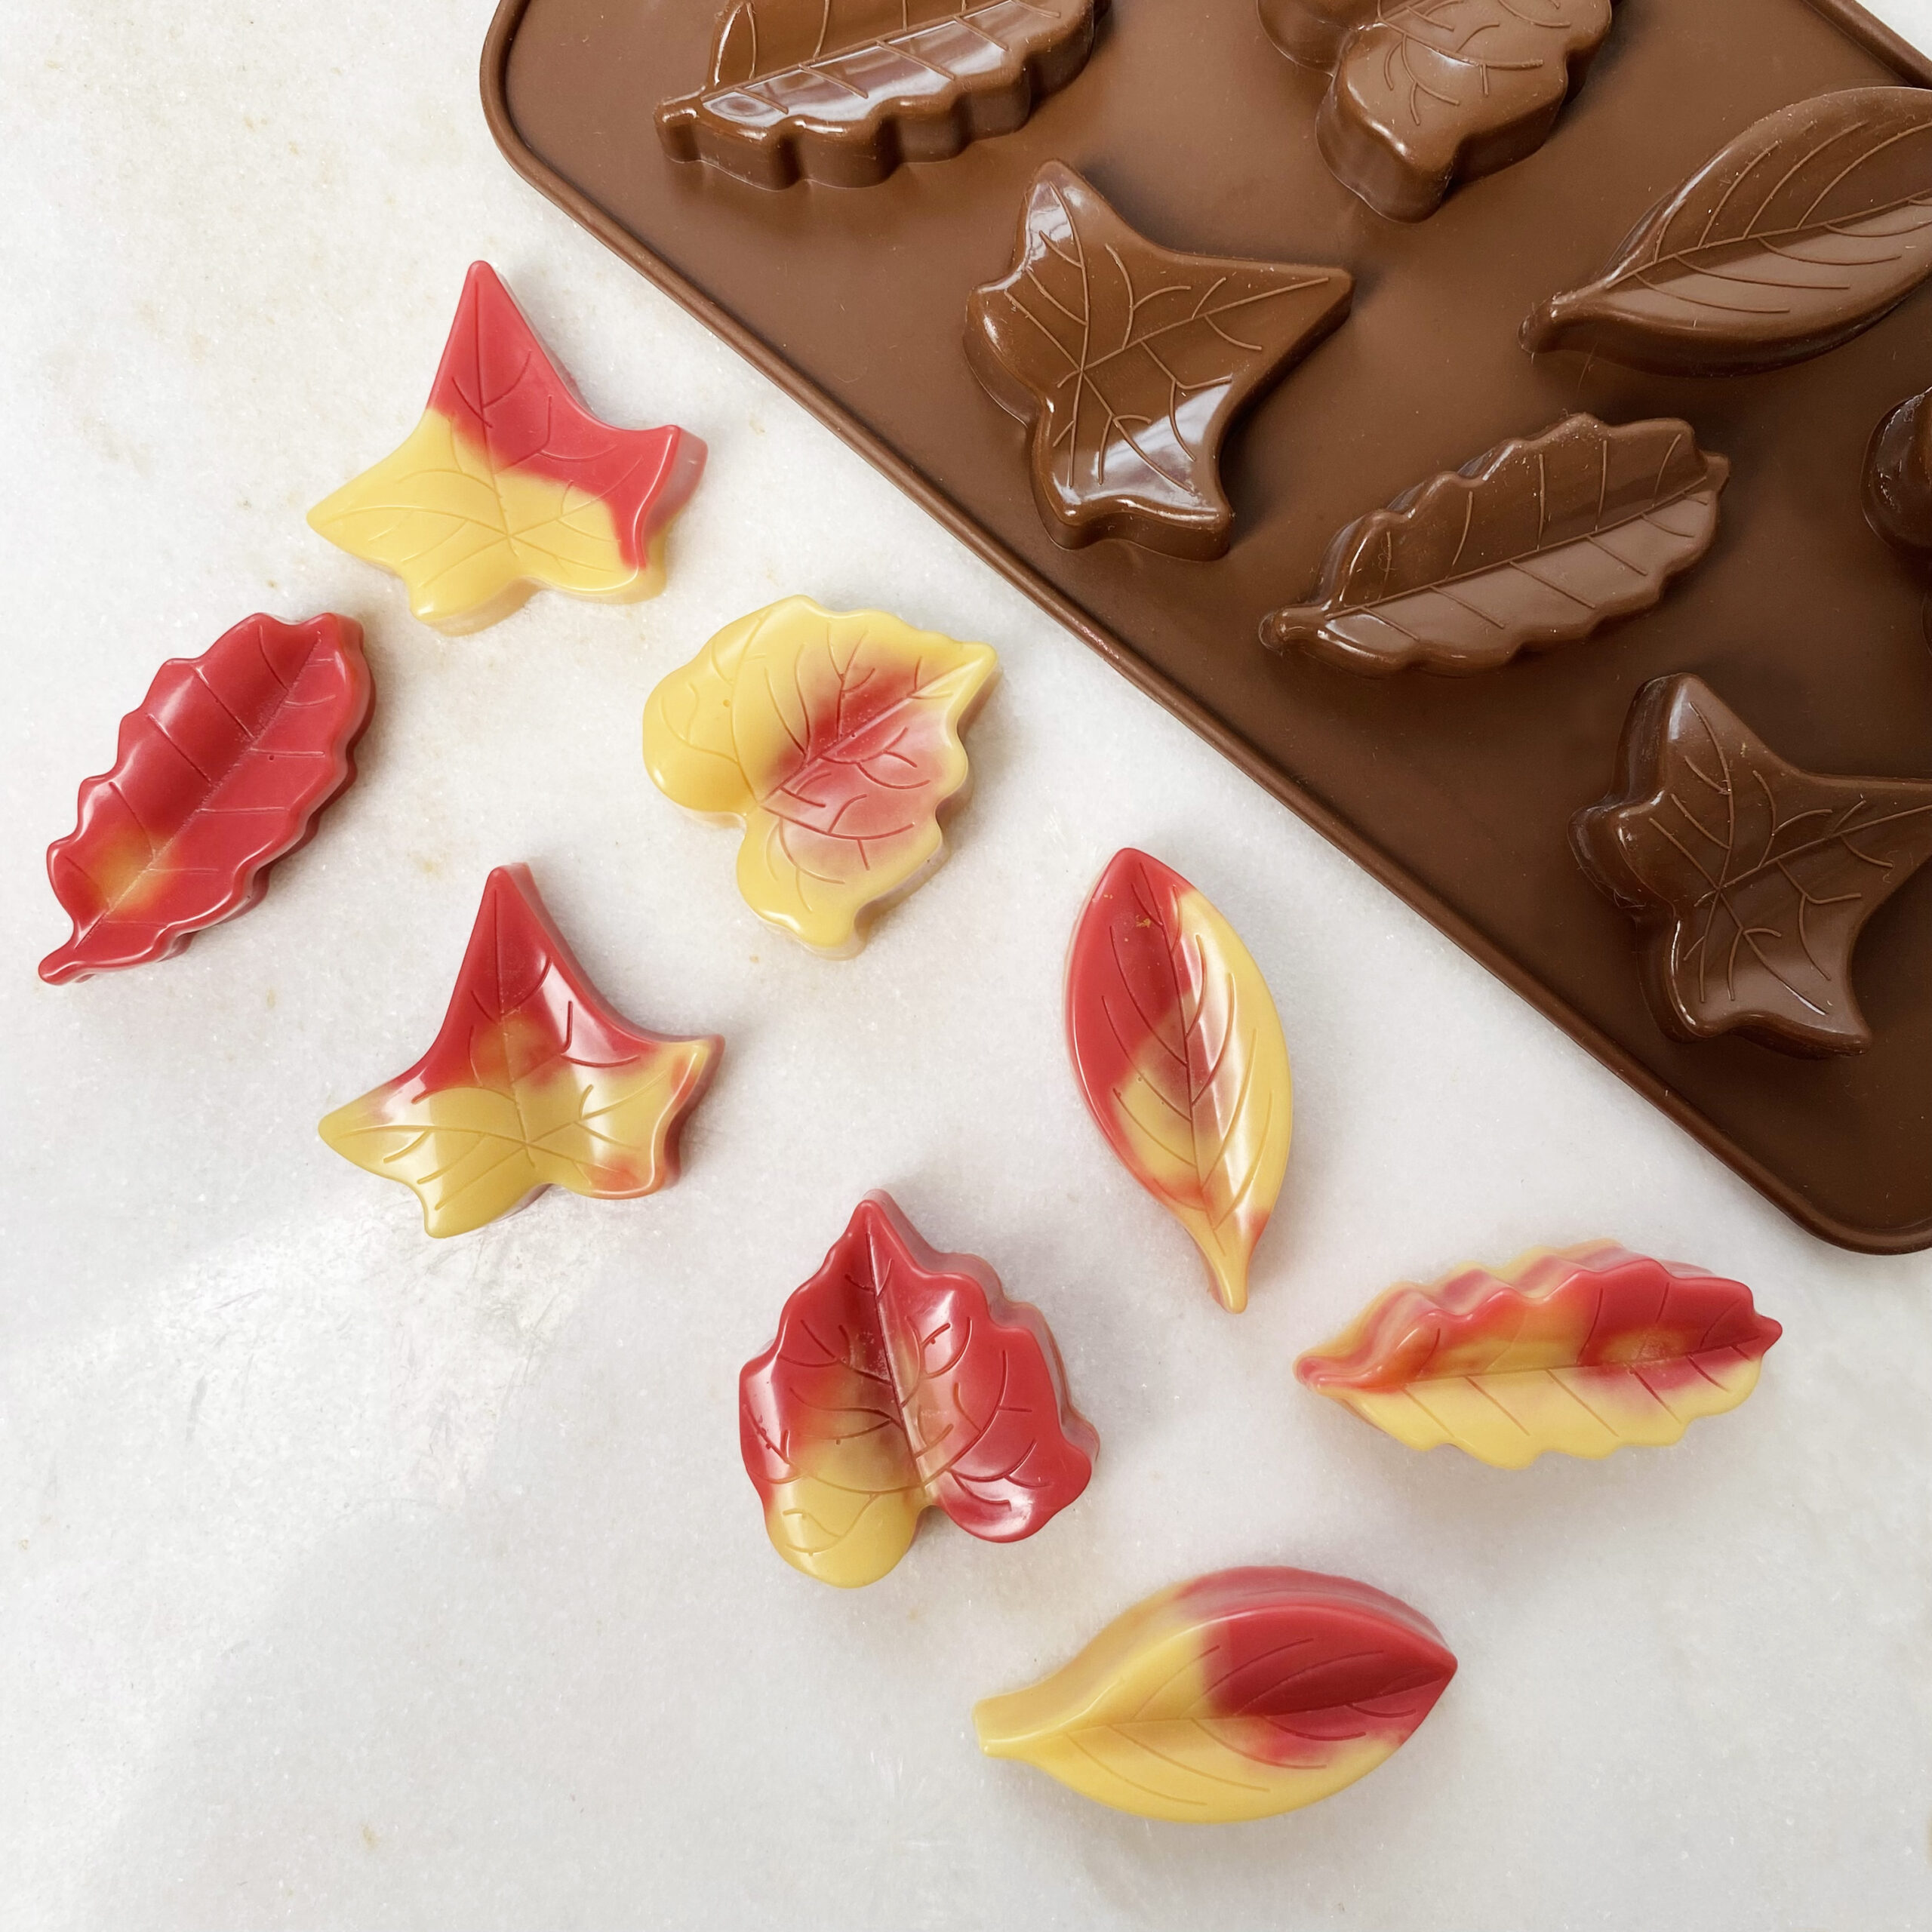
Wait at least 24 hours for the wax melts to set. Then you can un-mould the wonderful wax shapes, reavealing their unique two-tone pattern. Leaving the natural soy wax for up to 2 weeks to cure in glassine bags, cellophane bags or boxes will enable the scent throw to be at its strongest.
Enjoy watching the mica powder swirl once the wax melt melts on a warmer. Release the incredible scent of warming sandalwood vanilla into your home.
Watch behind the scenes making these wax melts…
Why not stay connected on our social media? Don’t forget to tag us in your creations. We love to see what you have been making and we may reshare your posts!
YouTube – Find more tutorials and project inspiration


Leave A Comment