


Shampoo bars are becoming increasingly popular, not only because of compactness, which can be very useful for storing or travelling, but also because they make for an overall more aesthetically appealing item which is easy to customise and decorate. Moreover, shampoo bars tend to last much longer than liquid shampoo as it’s much easier to dose and spread into your scalp.
As mentioned in our hand soap guide. Historically, people have used soap for all their cleaning needs, including hair washing for quite a long time. However, as regular soap tends to dry up the scalp and damage the follicles, during the Roaring 20s a different formula that’s specific to hair became more widely available.
Curiously, for non-industrial products (which are obtained through the process of saponification), there is very little, but nonetheless important difference between the formulation of hand soap and shampoo bars. In fact, the latter tend to maintain a lower acidic pH, which is overall gentler to the skin and scalp especially when using a product daily or frequently.
So, let’s dive into today’s guide to create your own high quality shampoo bars!
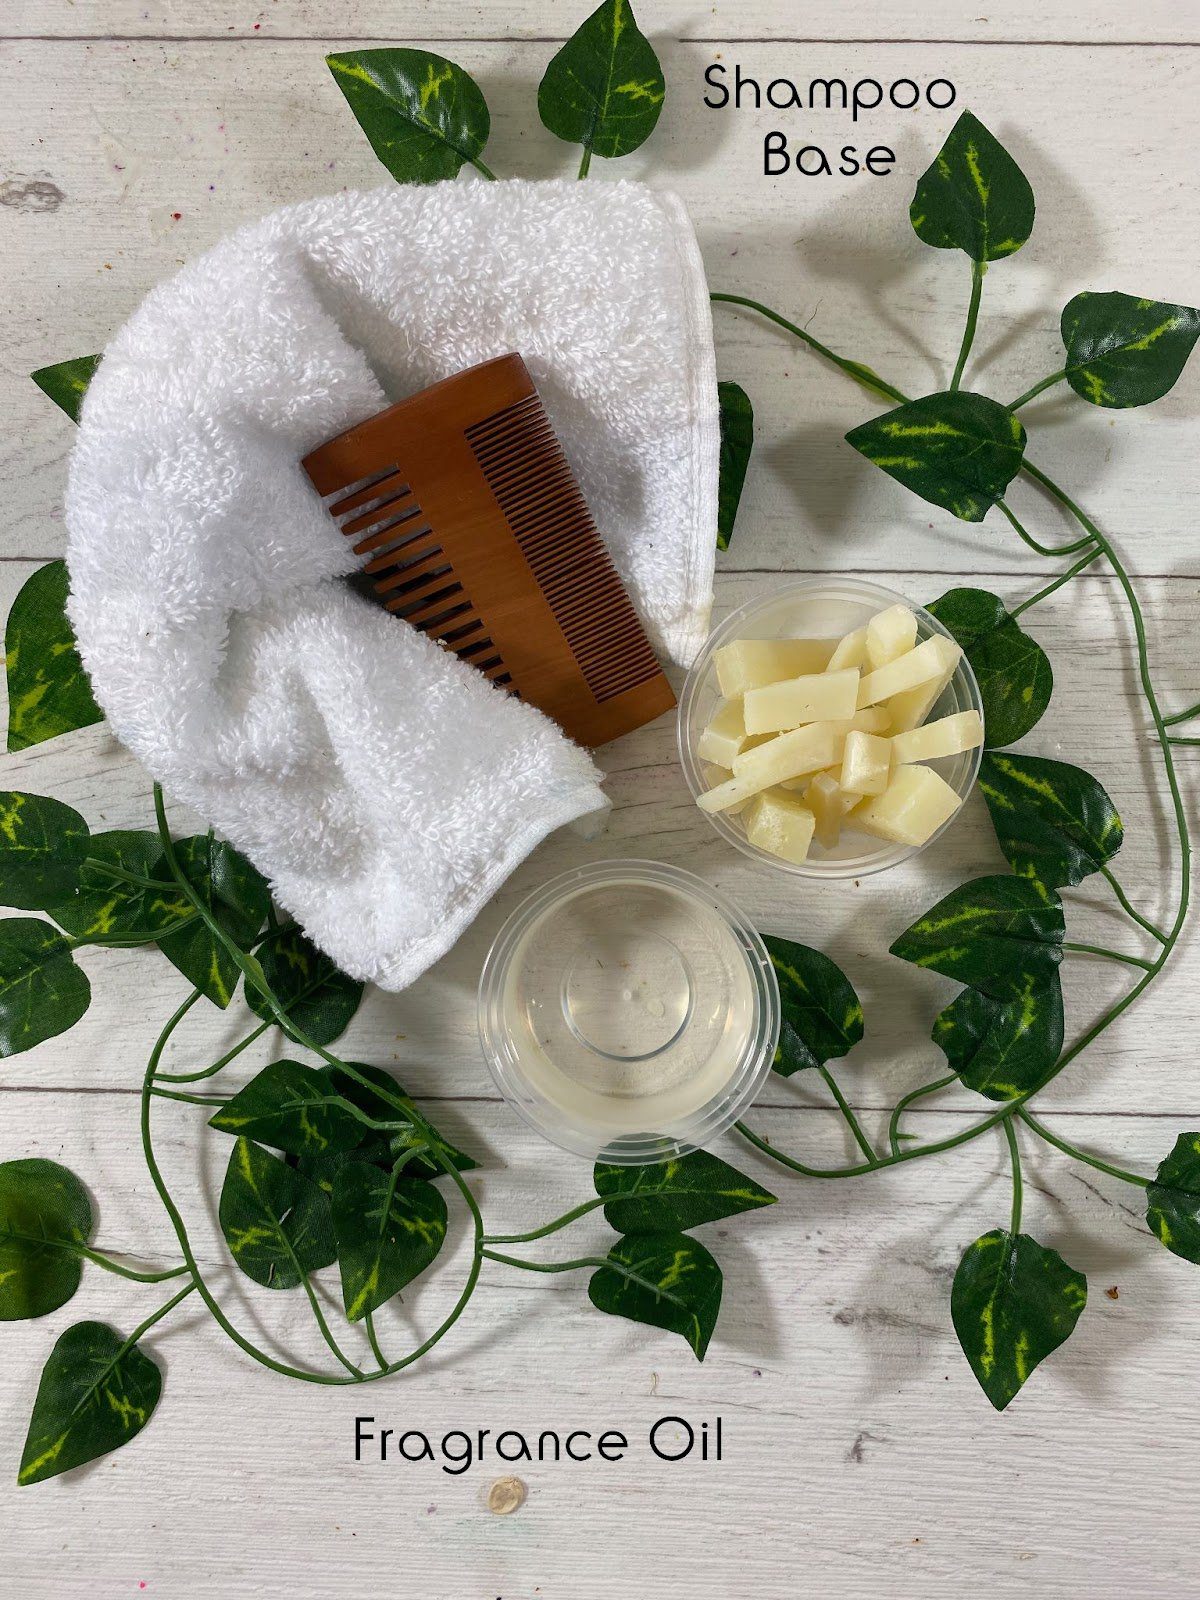
- 500g of 1Kg Shampoo Base
- 50ml Fragrance Oil
- Soap Mould
- 1 tbsp Sweet Almond Oil (Optional)
- 1 tbsp Castor Oil (Optional)
Step 1 – Cut Up Shampoo Base & Melt
First, we’ll assume that you are starting from an entire shampoo base of 1kg, in which case you’ll need to cut this in half and store the rest that can be used another time. However, if this is your second creation, just cut your 500mg into smaller pieces.
At this point, you can either place the pieces into a double-boiler and melt it with a bain marie method, or you can decide to use a microwave instead. The latter will be a much quicker method, but a slightly riskier one, as you’ll have less control over the desired heat.
On a double boiler, maintain a low heat and stir thoroughly. If using a microwave, place your chunks into a heat-proof jug or bowl and heat for 1 minute on full power, then in short 20-second bursts until completely liquid. At this point you can decide to add a tablespoon of castor oil (for an extra moisturising effect) and/or almond oil (for luster).
Step 2 – Add Your Fragrance Oil
Check the temperature of your soap base and add around 50ml of your favourite fragrance oil and mix thoroughly. If you are unsure about the exact flashpoint of your chosen fragrance, read this easy guide and check the fragrances chart.
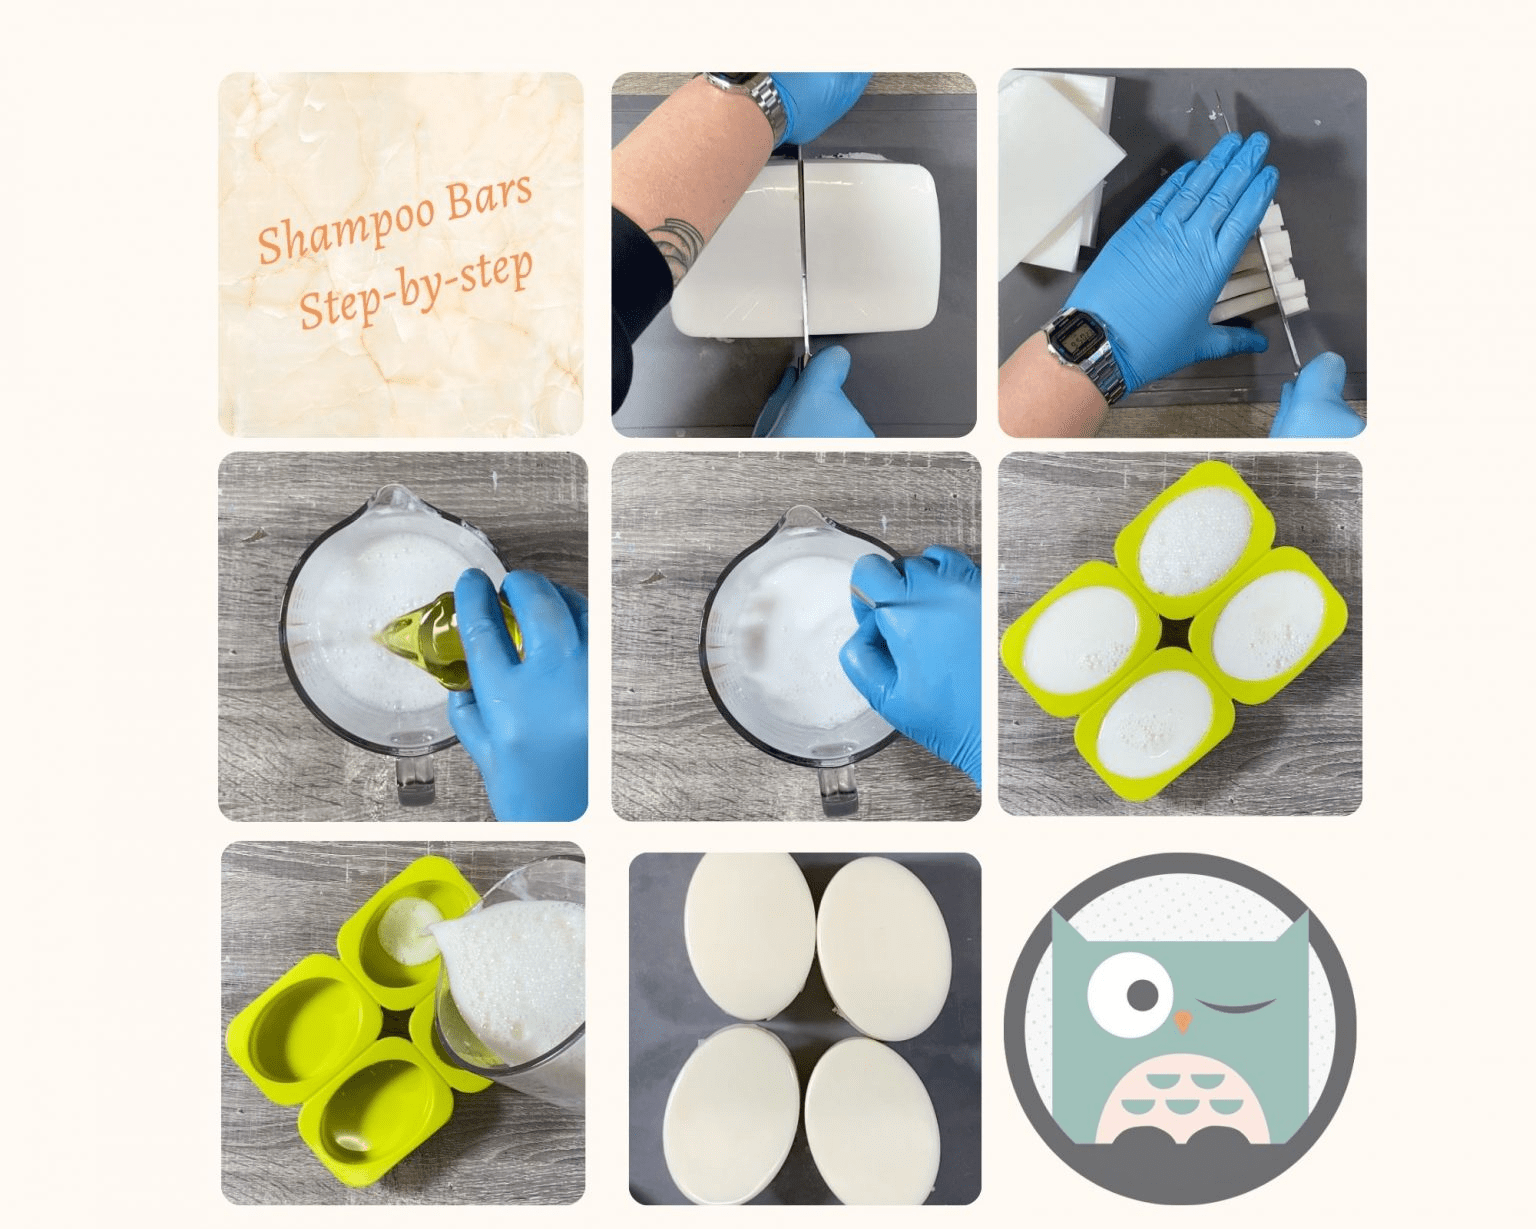
Step 3 – Pour Into the Mould & Let It Solidify
Making sure the base is at the optimal temperature (not too hot or cold), carefully pour the mix into the mould. You will then leave it to harden, at room temperature. This process can take up to 24 hours, so if you are too eager to use your lovely shampoo bars, you can choose to place them into the fridge instead and they should solidify more quickly. Whichever the case, it’s recommended to cover the mould with a plastic so the base doesn’t collect dust or other undesired fragments.
Step 4 – Pop & Enjoy!
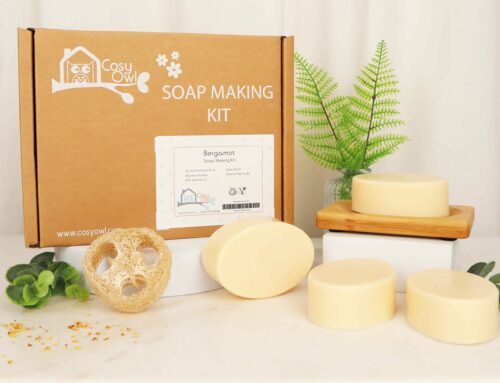
And here you have it! Your gorgeous shampoo bars, ready to treat your locks.
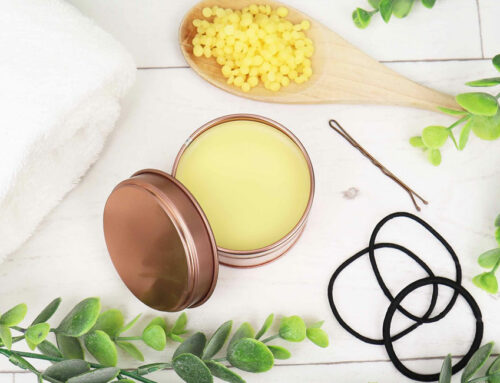
If you found this guide useful, check our latest guides. We have hand soap, body butter and even a hair treatment, for a completely customisable, DIY beauty routine.


Leave A Comment