


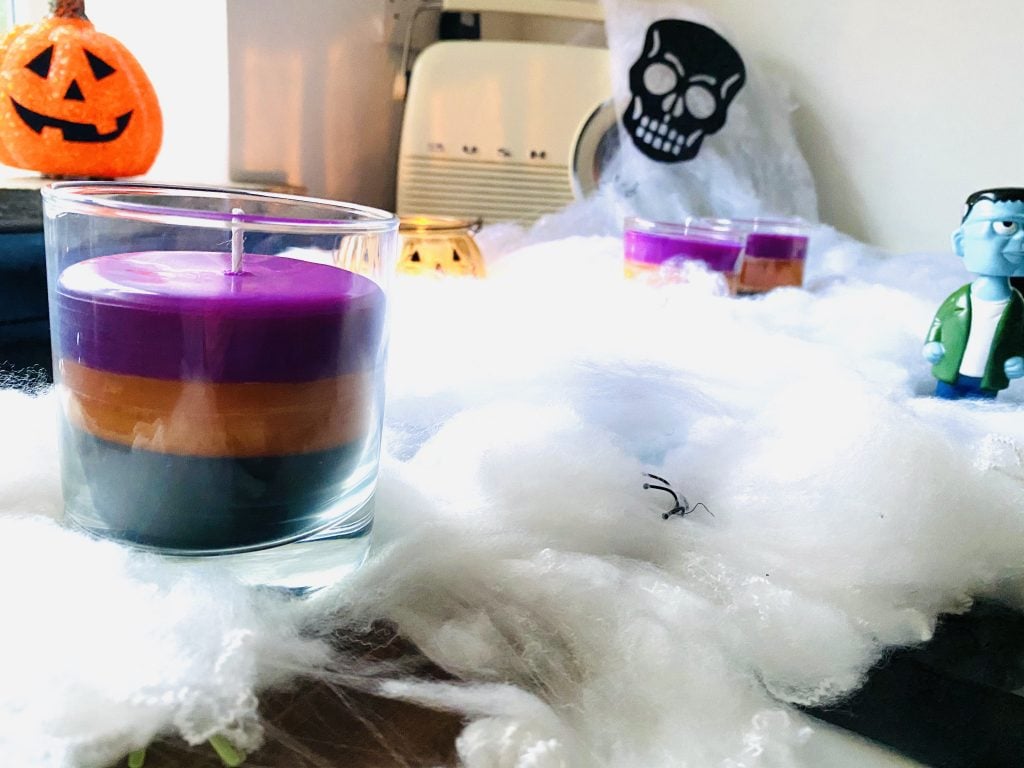
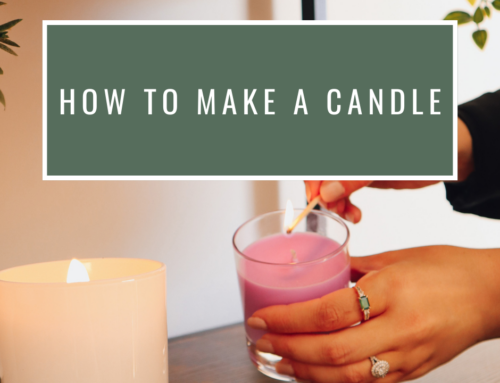
Need some Halloween inspiration? Our easy step-by-step video created in partnership with Cosy & Country walks you through the process of making your own layered Halloween candles – perfect for the spooky season!
Ingredients
- Kerasoy 4130 or Kerawax 4105 wax
- 30cl Karen Round Glass Container
- 50ml Fragrance Oil – we used Pumpkin Spice
- 3g of 6099/25 Orange Dye
- 3g of 60/1107 Violet Dye
- 3g of 6000/01 Black Dye
- ECO 16 Wicks
- Glue Dots
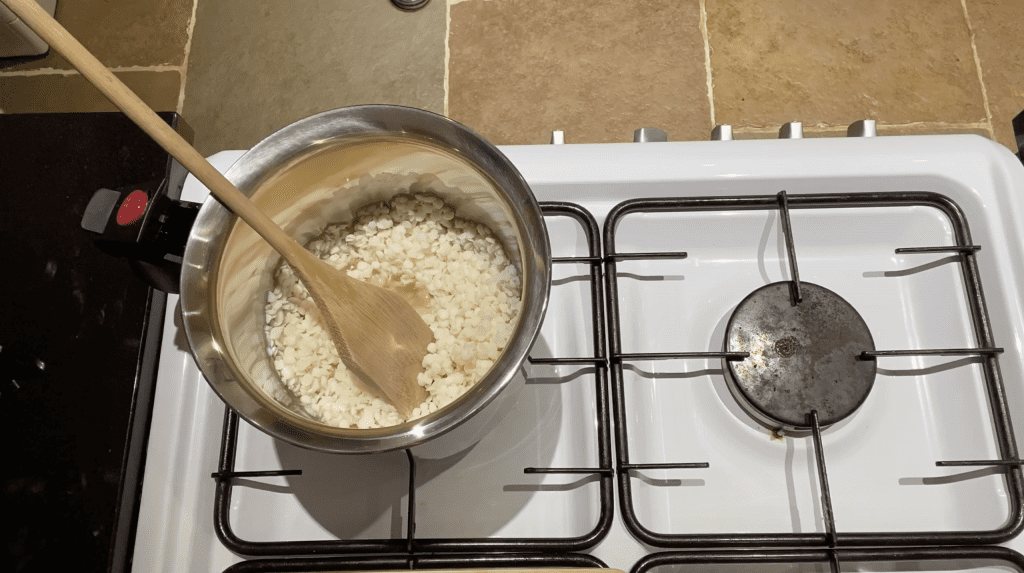
Step 1 – Measure & Melt Your First Layer
First, you need to measure out the wax for your first layer. As the containers we are using hold 240g of wax each, each layer needs to be 80g so we weighed out 240g of wax to fill 3 containers. Once you’ve measured out your wax, put it on a medium heat and melt it all the way through.
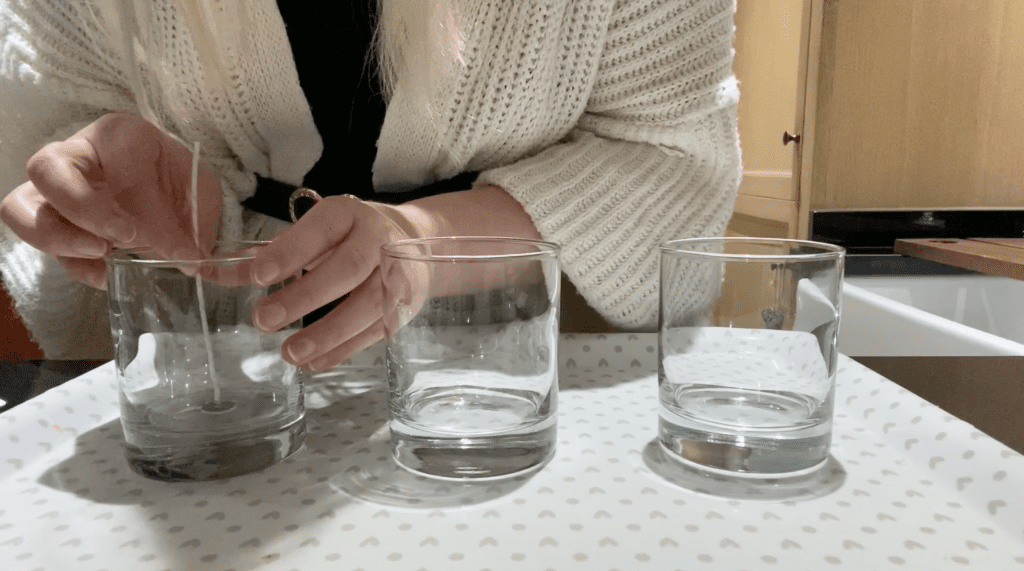
Step 2 – Prepare Your Containers
Whilst you wait for your wax to melt, it’s time to prepare your containers ready for the first pour. Take a glue dot and stick it to the base of your wicks and then place the wick in the container, making sure it’s central. Once stuck down, add a wick centering tool to hold the wicks in place.
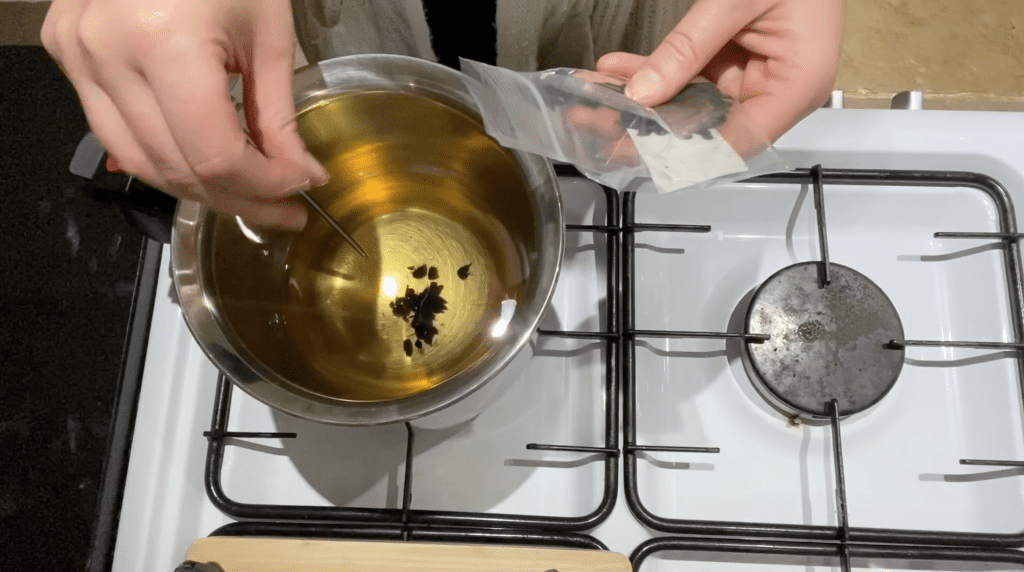
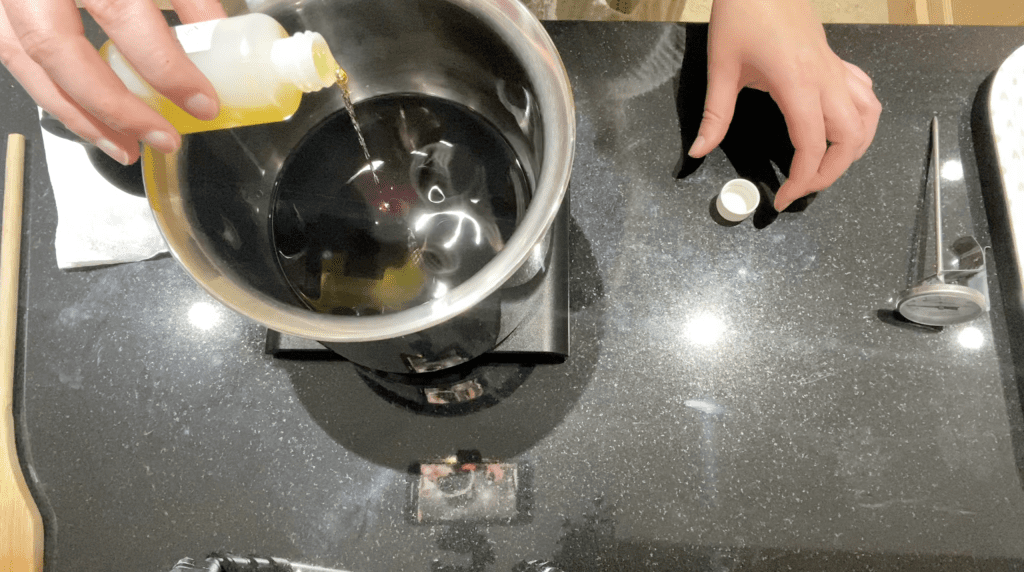
Step 3 – Add The Dye And Fragrance Oil
Making sure the wax is at 65°C, it is time to add the desired amount of dye. Select the first colour for your layered candle, we have chosen black, and gently stir this into the wax until it has fully dissolved.
Now it is time to add the fragrance oil, we have chosen Pumpkin Spice. Make sure you keep stirring gently so the fragrance oil is mixed all the way through the wax.
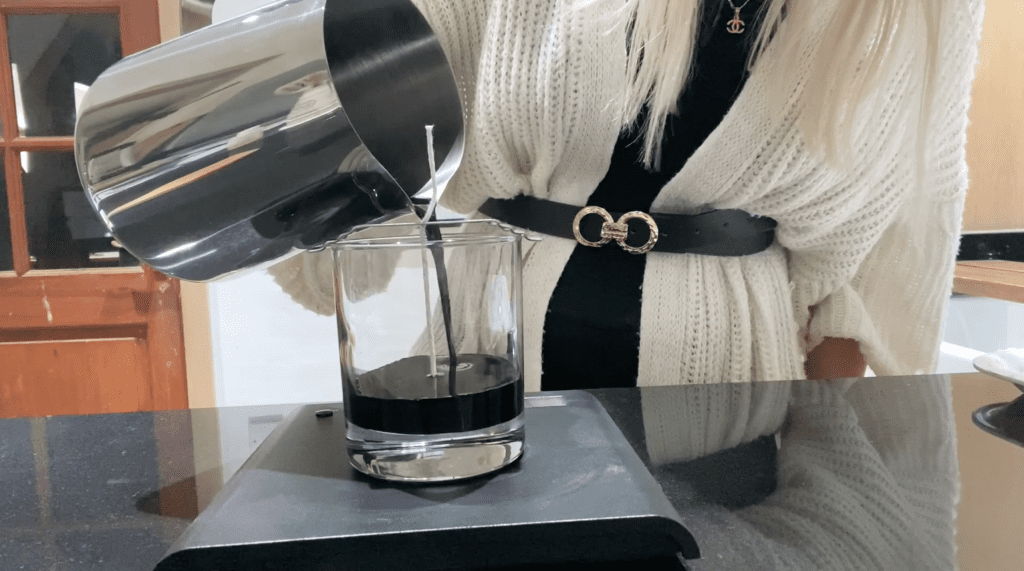
Step 4 – Pour Your First Layer
Place your container onto some weighing scales and pour 80g worth of wax for your first layer – this will make sure each layer is even. Once poured, leave for half an hour before pouring the next layer. If there is any spare wax, dispose of this and clean the burner.
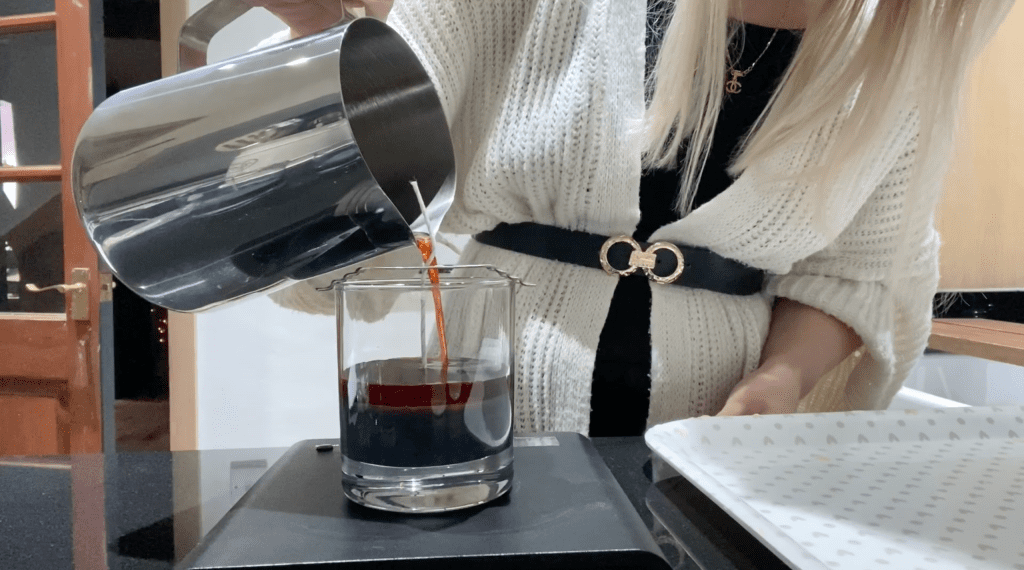
Step 5 – Repeat The Process For Your 2nd Layer
Whilst you wait for the wax to cool, measure out and melt another 80g of wax and repeat the previous steps, opting for your second colour of choice – we have chosen orange.
Ensure the first layer of the candle has cooled prior to pouring the second layer on top, once again using weighing scales to pour 80g of wax. Clean the burner again after doing the second pour.
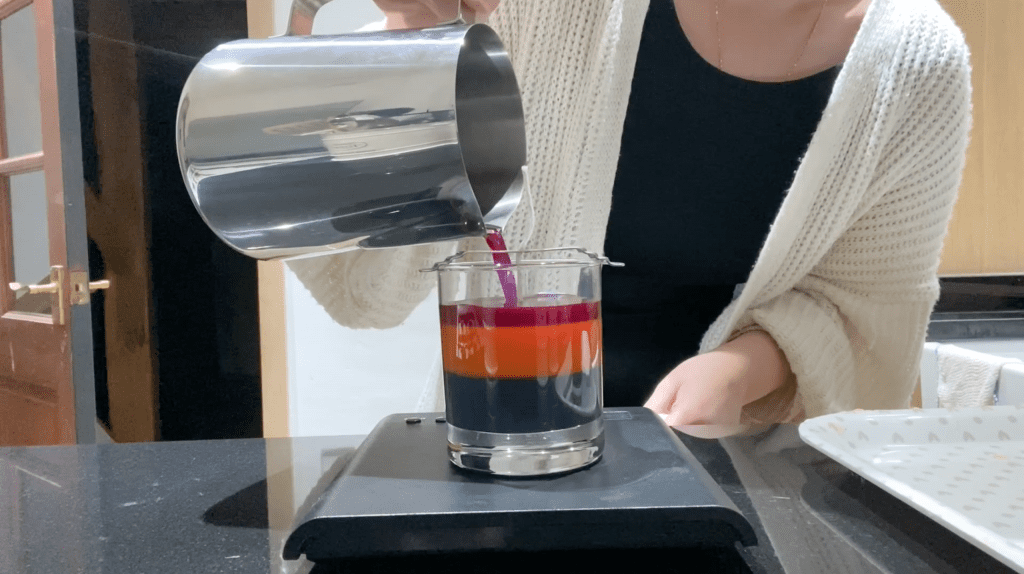
Step 6 – Repeat The Process For Your Final Layer
Melt the last of the wax the same as before, adding the fragrance and dye when the wax has melted – this time we have chosen purple dye.
Once the second layer has cooled, pour the third layer into the container, using your scales to weigh the final 80g of wax. Then leave your candles to set for a minimum of 24 hours.
Step 7 – Trim Your Wicks
After your candles have set its time to trim your wicks. After 24 hours, remove the wick centering tools and trim the wicks to around 5 mm – this is the perfect length!

Step 8 – Enjoy!
Now you can enjoy your spooky Halloween candles!
Follow us on social media and tag us in your creations. We love to see what you have been making!


Leave A Comment